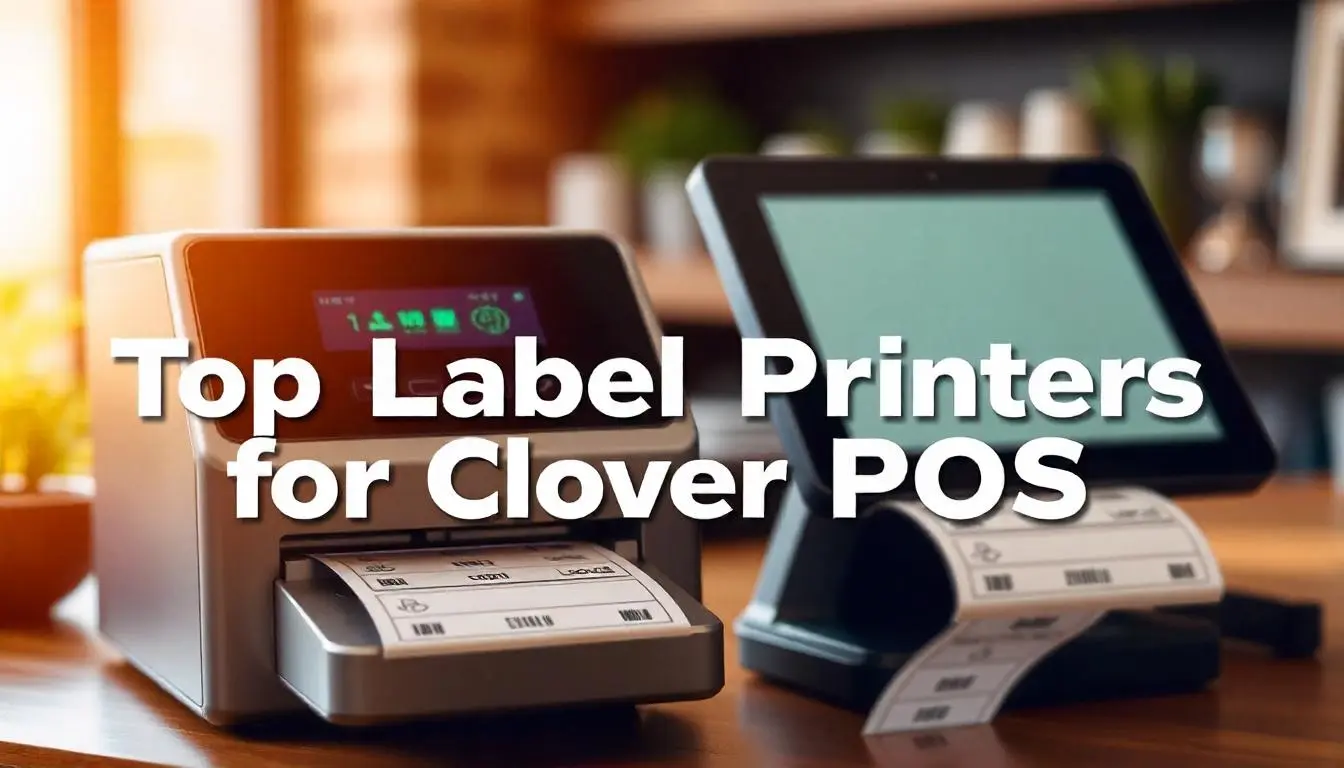
Clover POS systems are popular for small businesses. They make managing sales and inventory much easier. But to make things even better, adding a label printer to Clover can save time. Label printers are useful for printing price tags, barcodes, and product labels quickly. With the right printer, you can speed up your business tasks and keep things organized.
Choosing a good label printer for Clover is important. Not all printers work well with Clover. Some are more suited for the system than others. Finding the right one will make your labeling tasks smooth and hassle-free. This article will guide you through the best label printers that work perfectly with Clover and how to set them up easily.
Using a label printer with Clover helps improve your workflow. It’s a smart investment for businesses that handle a lot of products. You won’t have to worry about handwriting labels anymore. Just print, stick, and you’re ready to go!
Why You Need a Label Printer for Clover
Using a label printer with your Clover POS system can make your business run smoother. It helps you print labels fast, saving you time. If you have a lot of products to manage, a label printer is a must. It helps you keep everything organized by printing clear and easy-to-read labels. You can quickly create price tags, barcodes, or product labels with just a few clicks.
Label printers also improve accuracy. When you type and print, you avoid mistakes that can happen with handwritten labels. This means fewer errors in pricing or product information. Your customers will appreciate clear labels, and your staff will find it easier to track products.
Another reason to get a label printer for Clover is inventory management. You can print barcodes for each item, which makes tracking inventory much simpler. When you scan the barcode, the POS updates instantly. This helps you know what’s in stock and what needs to be ordered.
Overall, having a label printer makes your business more efficient. Whether you run a retail store, a cafe, or a small shop, adding a label printer to Clover helps you work faster. It’s a small investment that can make a big difference.
Top Label Printers Compatible with Clover POS
When choosing a label printer for your Clover POS, it’s important to find one that works smoothly. Here are three of the best options that are easy to set up and use with Clover.
While Clover’s compatibility can be somewhat specific, they have a number of printers that are known to work well with their POS systems, often through a dedicated app. Here are five of the top label printers that are compatible with Clover POS:
1. Brother QL-810W
🏷️Check Price On Amazon
Often sold as the “Clover Label Printer,” these Brother models are a top choice. They are known for their fast printing speeds (up to 93 labels per minute) and are specifically designed to work with Clover’s “Easy Labels App.” They can print a variety of labels for barcodes, price tags, and address labels.
2. Epson TM-L90 Plus
🏷️Check Price On Amazon
The Epson TM-L90 Plus is a direct thermal sticky label printer that is directly supported by the Clover system. You can get this printer from Clover or other retailers. It’s designed to work seamlessly with Clover’s sticky label features, making it a great option for kitchens and quick-service restaurants that need to print order labels.
3. Zebra ZD410
🏷️Check Price On Amazon
Zebra printers are widely used in retail and are compatible with Clover, especially for printing barcode labels. The ZD410 is a direct thermal printer that is known for its compact size, versatility, and ease of use. It’s a reliable choice for businesses that need to print high-quality labels for inventory management.
4. Dymo LabelWriter 450
🏷️Check Price On Amazon
The Dymo LabelWriter 450 is a popular choice for general labeling needs in a business setting. It is compatible with Clover, though you may need to ensure proper drivers and software are configured for seamless use. It’s known for its ability to print a variety of label sizes and its use of direct thermal technology, which means no ink or toner is required.
5. Star Micronics TSP143III
🏷️Check Price On Amazon
While primarily known as a receipt printer, the Star Micronics TSP143III also has label printing capabilities. It’s a reliable and fast printer that is widely compatible with many POS systems, including Clover. This can be a great option if you are looking for a printer that can handle both receipts and labels.
Each of these printers works well with Clover POS. They are easy to use, fast, and make labeling tasks simple for any business.
Comparison Table
Here’s a clear comparison table for the printers you listed, focusing on their compatibility with Clover POS and key features:
| Printer Model | Printing Speed | Printing Type | Key Features | Best For | Amazon Check |
|---|---|---|---|---|---|
| Brother QL-810W | Up to 93 labels/min | Direct Thermal | Works with Clover Easy Labels App, wireless printing, supports barcodes & address labels | Retail, price tags, barcodes, general labeling | 🏷️ Check Price On Amazon |
| Epson TM-L90 Plus | Fast (varies by label) | Direct Thermal Sticky Labels | Officially supported by Clover, sticky order labels, durable for kitchens | Restaurants, quick-service kitchens | 🏷️ Check Price On Amazon |
| Zebra ZD410 | Fast, compact | Direct Thermal | Compact size, versatile, widely used in retail, high-quality barcode printing | Retail inventory & barcode labels | 🏷️ Check Price On Amazon |
| Dymo LabelWriter 450 | Moderate | Direct Thermal | Affordable, prints multiple label sizes, no ink/toner needed, needs proper setup for Clover | General office/business labeling | 🏷️ Check Price On Amazon |
| Star Micronics TSP143III | Fast | Direct Thermal | Primarily a receipt printer, also supports label printing, widely Clover-compatible | Businesses needing receipts + labels | 🏷️ Check Price On Amazon |
This way, visitors can quickly see which printer best fits their Clover POS labeling needs.
Pros & Cons
Here’s the pros & cons list for each Clover-compatible printer. This will make your article more SEO-friendly and easier for readers to decide:
✅ Brother QL-810W
Pros:
-
Super fast printing (up to 93 labels/min)
-
Wireless connectivity
-
Works smoothly with Clover Easy Labels App
-
Prints barcodes, price tags, and address labels
Cons:
-
Labels may cost more than generic options
-
Limited to Brother label rolls
✅ Epson TM-L90 Plus
Pros:
-
Directly supported by Clover
-
Great for sticky order labels
-
Reliable for kitchen environments
-
Compact and durable
Cons:
-
Higher price compared to some alternatives
-
Mostly specialized for sticky labels (less versatile for other label types)
✅ Zebra ZD410
Pros:
-
Compact and space-saving design
-
Widely used in retail for barcode labels
-
High-quality, durable prints
-
Easy to set up and use
Cons:
-
More expensive than entry-level options
-
Mainly focused on barcode/inventory labels
✅ Dymo LabelWriter 450
Pros:
-
Affordable and widely available
-
Supports multiple label sizes
-
No ink or toner required (direct thermal)
-
Good for general office/business use
Cons:
-
Requires proper drivers/software for Clover
-
Slower than higher-end models
-
Limited durability for heavy business use
✅ Star Micronics TSP143III
Pros:
-
Can print both receipts and labels
-
Widely compatible with Clover and other POS systems
-
Fast and reliable performance
-
Easy setup and connectivity
Cons:
-
Primarily a receipt printer (labels are secondary)
-
Label features are more limited compared to dedicated label printers
How to Set Up a Label Printer with Clover
Setting up a label printer with your Clover POS is easy. First, you need to make sure the printer is compatible with Clover. Most label printers like Zebra, Dymo, and Brother work well, but always double-check.
Step 1: Unbox and Connect the Printer
Start by unboxing your printer and placing it near your Clover device. Plug in the power cable and turn it on. If you’re using a wired printer, connect it to your Clover using a USB cable. For wireless printers like the Brother QL-810W, connect the printer to your Wi-Fi network by following the setup instructions that came with the device.
Step 2: Install the Printer on Clover
Go to your Clover POS screen. Tap the “Settings” menu and select “Printers.” Your Clover will automatically search for connected printers. If it finds your printer, select it to pair. For wireless printers, make sure the Clover device and the printer are on the same Wi-Fi network so they can find each other easily.
Step 3: Adjust Printer Settings
Once your printer is connected, you need to adjust the settings. In the Clover menu, choose the type of labels you want to print. You can select different label sizes and formats depending on what you need. Whether you’re printing barcodes, price tags, or product labels, make sure to choose the right label format.
Step 4: Test Print
After adjusting the settings, it’s time to test the printer. Select a product from your inventory and print a sample label. Check if the label prints correctly with clear text and the right size. If anything looks off, go back to the settings and make adjustments.
Troubleshooting Tips
If the printer doesn’t connect, check all the cables or the Wi-Fi connection. Restart both the printer and the Clover POS if necessary. You can also update the printer’s firmware or contact Clover support for help if you run into issues.
Best Practices for Label Printing with Clover
To get the best results from your label printer, it’s important to follow a few simple practices. These tips will help you print clear labels, save time, and keep your printer working smoothly.
Use the Right Labels
Always choose the correct label size and type for your printer. Using the wrong kind can cause jams or print errors. Many printers, like the Zebra ZD410 or Dymo LabelWriter 450, use thermal labels. These labels don’t need ink, but you should ensure they are compatible with your printer. Check the label rolls regularly and replace them before they run out.
Keep the Printer Clean
Dust and debris can build up inside the printer over time. This can affect print quality and cause smudges on your labels. Make sure to clean the print head and rollers often. Use a soft, dry cloth to wipe the inside of the printer. Some printers come with cleaning kits, which help remove dirt and dust from hard-to-reach areas.
Print Test Labels Regularly
Before printing large batches of labels, always do a test print. This ensures the labels look right and fit properly. It also helps you spot any issues early. If you notice any problems, like faint text or off-center labels, adjust the printer settings before printing more labels.
Store Labels Correctly
Keep your label rolls in a cool, dry place. Heat and moisture can damage labels, making them peel or fade. If labels are exposed to sunlight or humidity, they might not stick well or print correctly. Proper storage will keep your labels fresh and ready to use.
Update Your Printer’s Software
Make sure your printer’s firmware is always up to date. Many printers, especially wireless models like the Brother QL-810W, offer updates that improve performance and fix bugs. You can usually check for updates on the printer’s settings or the manufacturer’s website. Updating regularly will help your printer run efficiently for a long time.
Conclusion
Choosing the right label printer for your Clover POS system is important for running your business smoothly. With options like the Zebra ZD410, Dymo LabelWriter 450, and Brother QL-810W, you have reliable choices to fit your needs. Each of these printers offers easy setup and fast, clear label printing.
Setting up your printer is simple, and following best practices will keep it running well. Whether you need to print price tags, barcodes, or product labels, a label printer saves time and reduces mistakes. Regular maintenance, using the right labels, and keeping the printer clean will ensure high-quality prints every time.
Adding a label printer to Clover will improve your workflow and make managing inventory much easier. It’s a small step that can make a big difference in how smoothly your business operates.
FAQ
1. Can any label printer work with Clover POS?
No, not all label printers are compatible with Clover. You need to choose one that specifically works with Clover, like Zebra, Dymo, or Brother models.
2. Do I need special labels for my Clover printer?
Yes, it’s important to use labels that fit your printer. Many printers use thermal labels, which don’t need ink. Always check the printer’s instructions for the right label size and type.
3. How do I connect a wireless label printer to Clover?
For wireless printers, make sure both the printer and Clover are on the same Wi-Fi network. Then, go to Clover’s settings, find “Printers,” and pair the devices.
4. What should I do if my labels aren’t printing clearly?
First, clean the printer’s print head and rollers. Then, check the settings on your Clover device. If the issue persists, try using a test label to adjust print quality.
5. How often should I clean my label printer?
It’s a good idea to clean the printer regularly, especially if you use it a lot. Dust and debris can affect print quality over time.
6. Can I print barcodes with a label printer on Clover?
Yes, most label printers compatible with Clover can print barcodes. You can also print price tags and other product labels.
7. Do I need to install software to connect my printer to Clover?
In most cases, no. Clover can automatically detect compatible printers. Just make sure your printer is connected properly to your Clover device.
8. How do I update my label printer?
You can usually update your printer by checking the manufacturer’s website or through the printer’s settings. Updates improve performance and fix bugs.